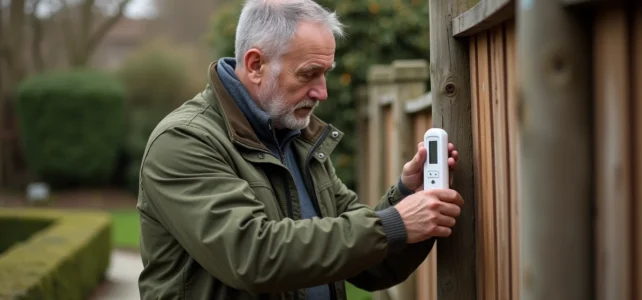
You have mounted a thermometer on the terrace wall, and it regularly shows several degrees higher than the local weather. The problem does not come from the device, but from its location. A sensor exposed to the radiation of a facade or placed too low above the ground gives a distorted reading, sometimes dramatically.
Choosing where to install an outdoor thermometer requires understanding a few simple principles related to heat, wind, and light.
Radiation from walls and reflected heat: the most common trap
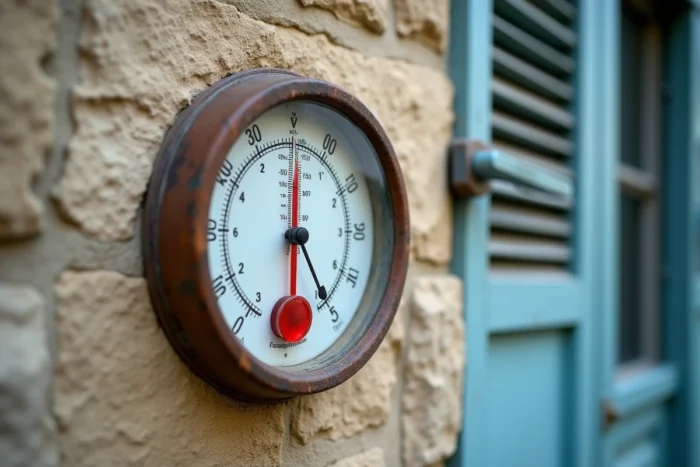
You may have noticed that a south-facing wall stays warm long after sunset? This wall stores solar energy and then releases it as infrared radiation. A thermometer mounted nearby captures this stray heat in addition to the air temperature.
Even in the shade, a sensor placed against a facade can show a significantly overestimated temperature. Specialized media, including franceinfo, emphasize that the reflection of rays on light or glass surfaces is enough to skew readings without direct sunlight on the sensor.
To understand where to install an outdoor thermometer according to Loisiragri, you must first remember this rule: keep the sensor away from any mass that accumulates or reflects heat. Stone walls, concrete slabs, large windows, and metal roofs are the main sources of bias.
The minimum distance to maintain between the thermometer and a wall depends on the material, but the logic remains the same: the denser and more sun-exposed the surface, the further away it should be. A wooden post in the middle of the garden poses much less of a problem than a coated cinder block wall.
Height and ventilation: the two criteria for reliable measurement
The height of the sensor radically changes the result. At ground level, the air is warmer during the day (the ground radiates) and colder at night (the cold air, being heavier, stagnates at the bottom). Meteorological measurement standards recommend placing the thermometer at about 1.50 m above the ground, in the shade and in a ventilated area.
Why is ventilation so important? Without air circulation, a pocket of heat forms around the sensor. The thermometer then measures the temperature of this stagnant pocket, not that of the ambient air. A location sheltered from direct sunlight but open to natural air currents gives the readings closest to reality.
Natural shade or manufactured shelter
The shade of a deciduous tree works well in spring and summer, but disappears in winter. A meteorological shelter (a small box with white shutters) protects the sensor from the sun and rain while allowing air to circulate freely. This is the most consistent solution throughout the year.
A shelter painted white reflects light instead of absorbing it. A dark shelter heats up in the sun and skews the measurement, just like a car dashboard in summer. If you make your own, choose a light material and plan for side openings.
Soils, vegetation, and the immediate environment of the thermometer
The type of soil under the sensor influences the measurement more than one might think. Here are the surfaces ranked by thermal impact:
- Asphalt and dark gravel: strongly absorb radiation and release intense heat, especially at the end of the day. To be avoided under a thermometer.
- Light tiles or limestone: less problematic, but they still reflect some radiation.
- Grass or bare soil: the most neutral surface for an outdoor measurement, as grass absorbs radiation without releasing it as much as a mineral surface.
Installing the thermometer above a lawn, at a good height and away from walls, combines the three conditions for a reliable reading.
Avoid artificial heat sources
Ventilation outlets (VMC, tumble dryer, boiler) project warm or humid air that disrupts the sensor. An outdoor air conditioning unit releases hot air in summer, sometimes several meters away. Any artificial heat source must be kept at a good distance from the sensor.
Barbecues, outdoor pizza ovens, and even composters in active decomposition generate a local microclimate. If your garden is small, locate the area farthest from these appliances.
Wired, wireless, or weather station thermometer: the location varies by type
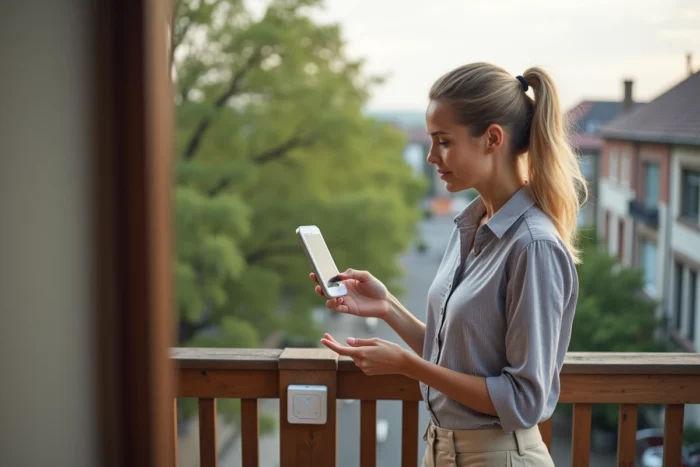
The choice of equipment also determines the location. A wired thermometer requires staying close to the house, making it difficult to distance from walls. A wireless sensor, connected to an indoor display or a weather station, offers more freedom to place the sensor in the ideal area of the garden.
With a connected weather station, the outdoor sensor communicates via radio frequency. The range advertised by manufacturers decreases as soon as a wall or dense hedge intervenes. Before permanently fixing the sensor, conduct a reception test by temporarily placing it in the chosen location.
Here are the points to check before fixing your sensor:
- Sufficient distance from walls, mineral ground, and artificial heat sources.
- Height close to 1.50 m, with free air circulation around the sensor.
- Permanent shade or a white shutter shelter to avoid direct solar radiation.
- Good radio reception if the sensor is wireless (test before drilling).
Orienting the sensor north: a simple and effective rule
In mainland France, a sensor oriented north receives the least direct solar radiation during the day. This orientation limits stray heat peaks, especially in summer when the sun is high.
If no north-facing location is available, prefer an east exposure. The morning sun is less powerful than that of the afternoon, and the east-facing facade cools down faster in the evening. The west exposure, on the other hand, accumulates afternoon heat and the wall’s release in the evening.
A well-positioned outdoor thermometer does not cost more than a poorly placed one. The difference lies in a few meters of distance, an appropriate support, and the choice of a location where air circulates freely over a neutral surface. These adjustments transform an approximate gadget into a truly useful measuring tool.