A motorized sectional garage door transforms a daily gesture into a silent and smooth operation. However, between the cardboard delivered on the garage floor and the first automatic opening cycle, several technical steps condition the longevity of the mechanism and the safety of users. This guide details the concrete points of vigilance to successfully install a motorized sectional garage door, emphasizing what the manuals often overlook.
Ceiling Clearance and Space Constraints Before Installation
Before touching any rail, the first check concerns the available volume above the opening. The curtain, once folded horizontally, occupies the entire depth of the garage ceiling. No pipes, cables, or lighting fixtures should be in this area, or else the installation may become impossible or require a different configuration.
Measure the height under the lintel and the depth of the free ceiling. If beams cross the space above, the horizontal rail of the curtain will not be able to be properly fixed. In this case, consider offset brackets or abandon the standard mounting.
Also, check that the side walls are strong enough to support the vertical guide rails. A non-reinforced drywall will not withstand mechanical stresses. Plan for fixings suitable for the material (metal anchors for concrete, lag screws for solid wood).
To delve into each phase of the project, a dedicated guide on the installation and mounting of motorized sectional garage doors details the complete chronology of operations.
Assembly of Rails and Installation of the Sectional Door Panels
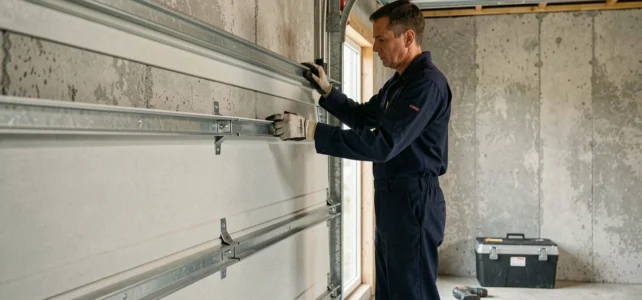
The assembly always starts with the vertical rails, which serve as the load-bearing structure. Position them on each side of the opening, ensuring they are perfectly level. A gap of a few millimeters at the bottom translates into a much more visible offset at the top.
Vertical and Horizontal Rails
Temporarily fix the rails with clamps at the top. Center them relative to the opening by checking from the outside. Use a level over the entire height, not just at one point.
The horizontal rails then connect to the vertical ones via junction pieces. The lip seal must be clipped into each rail before the panels are mounted, as it is nearly impossible to add it afterward. This seal ensures lateral sealing and reduces friction during sliding.
Panels and Rollers
Start with the lowest panel. Slide it into the vertical rails, then attach the side rollers. Each subsequent panel stacks and connects to the previous one with articulated hinges. Check the alignment after adding each panel.
- The bottom panel receives the floor seal, which ensures sealing with the garage threshold
- The intermediate panels articulate with each other thanks to hinges screwed on the inner face
- The top panel carries the attachments of the spring system and the connection point with the motor rail
Do not tighten any screws definitively until all panels are in place. A global adjustment is more reliable than corrections panel by panel.
Adjustment of Torsion Springs and Manual Testing
The spring system compensates for the weight of the curtain so that the motor only has minimal effort to exert. You may have noticed that a well-balanced sectional door lifts almost by itself by hand? This is the role of the torsion springs, fixed on an axis above the lintel.
A poorly adjusted spring strains the motor and reduces its lifespan. After installation, test manually: lift the door halfway and let it go. It should stay in place, neither rising nor falling. If it moves, the spring tension needs adjustment.
This adjustment requires caution. Torsion springs store considerable energy. Without experience, it is better to entrust this step to a professional. An unsuitable tensioning tool or a too-quick movement can cause a violent release of the spring.
Motorization of the Garage Door: Fixing and Connecting the Motor
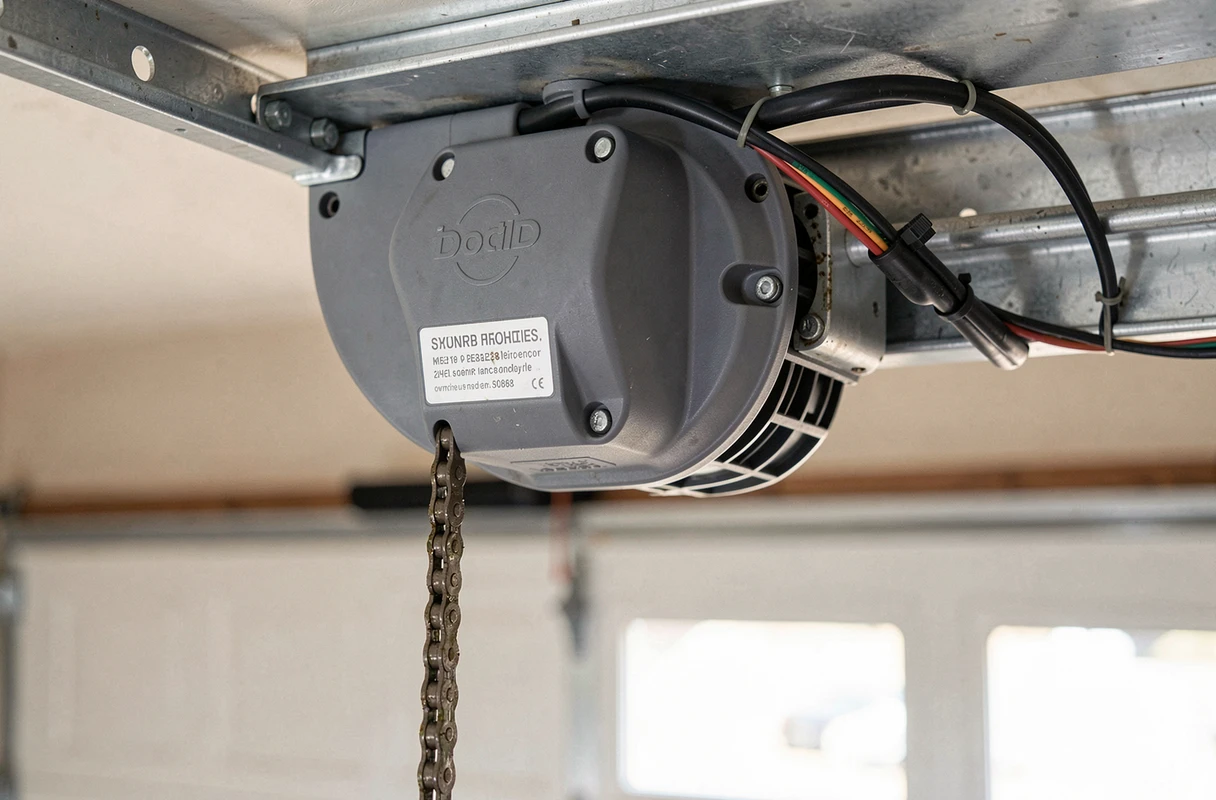
The motor is fixed to the ceiling, in the central axis of the opening. Its guide rail connects the motor block to the top panel of the curtain via an articulated arm. Fix the motor support on a rigid surface (concrete lintel, metal beam), never on drywall or a false ceiling.
Before the electrical connection, ensure that the door slides freely throughout its travel. Any mechanical resistance will be amplified by the motorization and will cause premature wear of the moving parts.
End Stops and Safety Features
Adjust the high and low end stops of the motor. The door must stop exactly at floor level when closed, and a few centimeters from the motor block when open. An adjustment that is too short leaves a gap under the door, while an adjustment that is too long forces the motor against the stop.
The obstacle detector (photoelectric cell or edge sensor) must be tested by placing an object in the path of the door. The door must immediately reverse its course at the slightest contact. If it does not, do not activate the motorization.
Emergency Unlocking and Post-Installation Checks
If your garage does not have a separate pedestrian access (service door or gate), the emergency unlocking becomes a safety point not to be neglected. In case of a power outage, without this device, you remain locked inside or stuck outside.
Most motorizations include a manual release cord accessible from the inside. Check that this cord is easily reachable and that the mechanism works without forcing.
- Test the manual release in cold conditions, with the motor off, to ensure that the door slides freely without electrical assistance
- If a pedestrian gate is integrated into the curtain, install a gate contact that cuts off the motorization when the pedestrian passage is open
- Check the perimeter sealing: floor seal, side seals in the rails, lintel seal at the top
- Check for any abnormal play in the hinges and rollers after several opening and closing cycles
In the first days following installation, perform several complete cycles while observing the behavior of the door. Any unusual noise, vibration, or slowdown at a specific point in the travel indicates a misalignment or friction that needs to be corrected before it worsens.
The quality of a motorized sectional garage door installation is measured in the details: a well-positioned seal, a properly tensioned spring, a motor fixed on a solid support. These elements, taken separately, may seem trivial. Together, they make the difference between a door that operates for ten years without issues and a door that causes problems from the first winter.